Removing backgrounds in digital artwork is a crucial skill for artists and designers using Procreate. In this blog post, we will delve into the process of removing backgrounds in Procreate, focusing on the tools, techniques, and tips to achieve seamless results. Whether you’re a beginner looking to master this skill or an experienced user seeking to enhance your workflow, this guide will provide valuable insights and practical advice. Let’s explore how to effectively remove background in Procreate and elevate your digital artistry.
Understanding Remove Background in Procreate
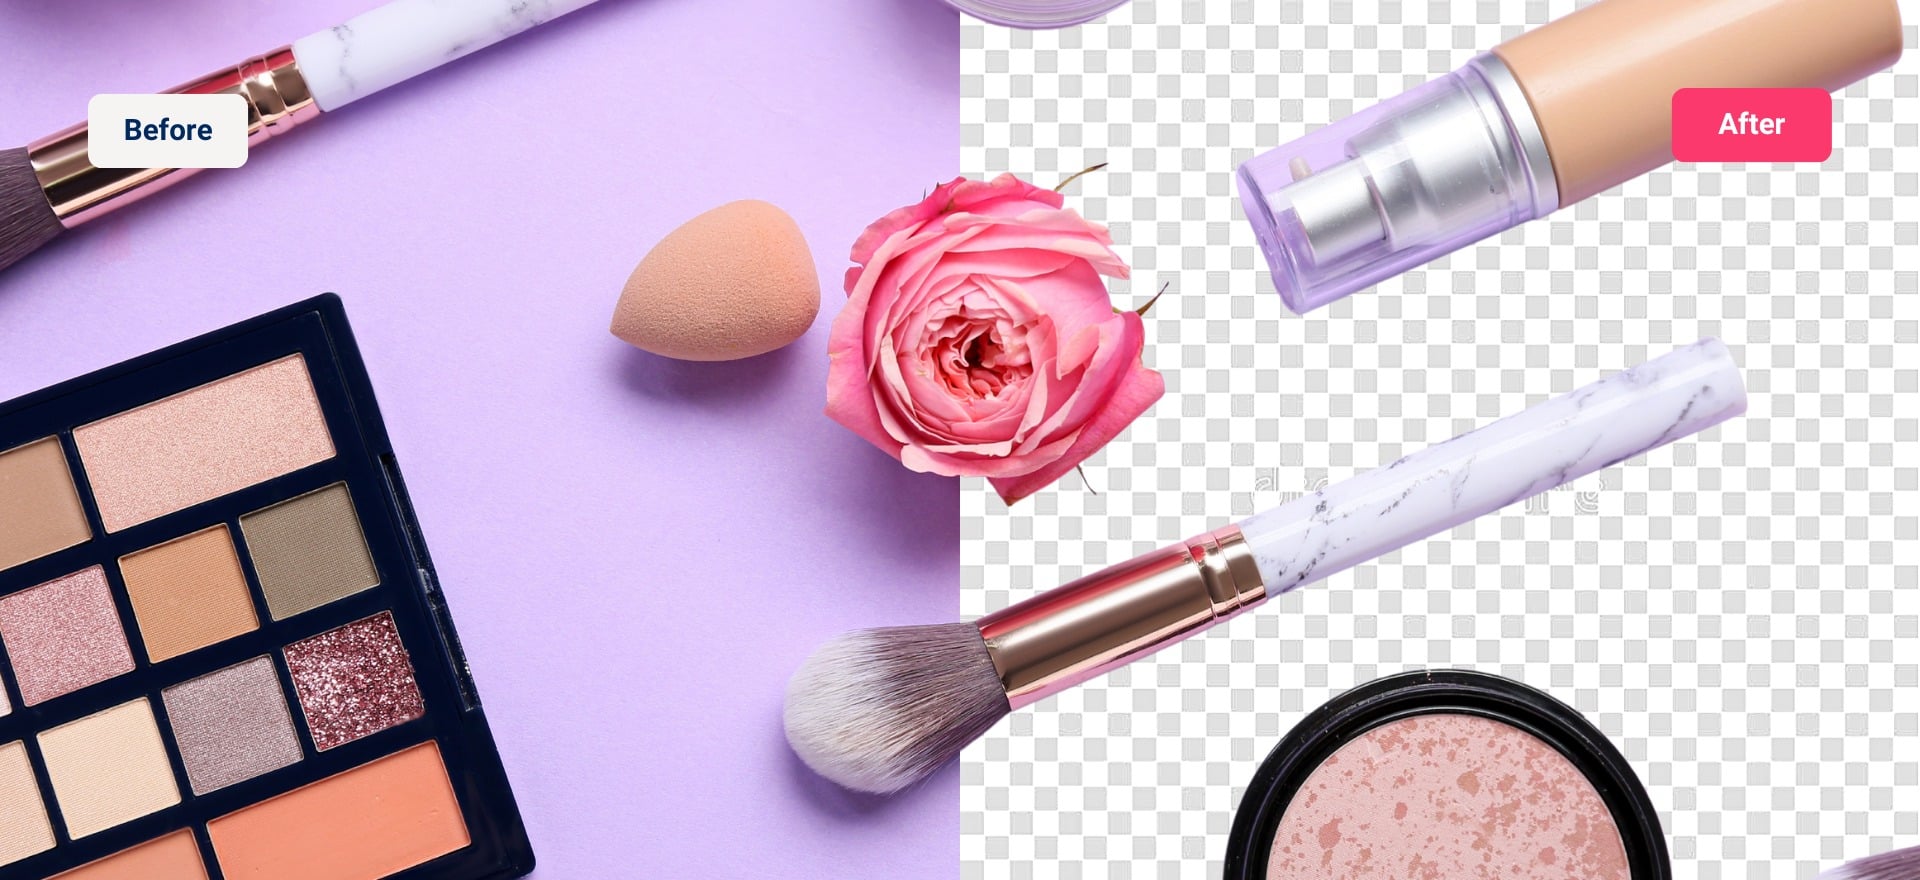
Background removal in digital artwork is a crucial step that enhances the overall composition’s visual appeal and versatility. By isolating subjects from their backgrounds, artists gain greater control over the narrative and aesthetic presentation of their artwork. The process involves defining subject boundaries and separating them from the background using selection and masking tools. Procreate, with its versatile selection tools, layer adjustments, and intuitive interface, streamlines this process effectively.
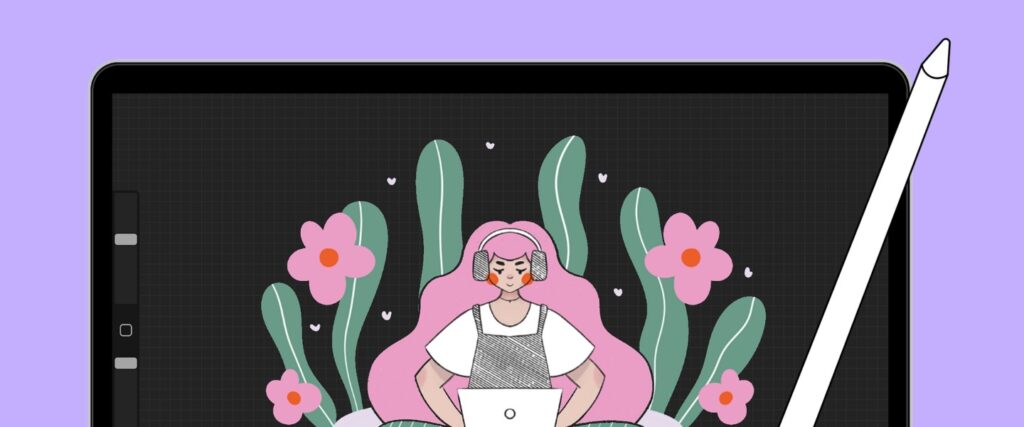
The benefits of using Procreate for background removal are numerous. Firstly, Procreate offers professional-grade results with its powerful selection and masking tools. Additionally, its layer-based editing system ensures non-destructive editing, allowing artists to make adjustments without compromising the integrity of their artwork. Furthermore, Procreate’s compatibility with the iPad and Apple Pencil provides a portable and convenient platform for digital art creation, enabling artists to work flexibly and seamlessly integrate background removal into their creative workflow.
In summary, background removal is an essential aspect of digital artwork, and Procreate offers a robust set of tools to achieve precise and seamless results, empowering artists to unleash their creativity and elevate the quality of their digital compositions.
Tools and Techniques in Procreate
Procreate offers a variety of tools specifically designed for background removal, providing artists with the means to achieve precise and seamless results. These tools include selection tools, masking options, and adjustment layers, each serving a unique purpose in the background removal process.
Selection Tools:

Procreate provides several selection tools for defining areas to be removed from the background. The Quick Selection tool automatically detects edges and makes selections based on color and contrast, ideal for quick and straightforward background removal. The Freehand Selection tool allows for manual selection of areas, offering greater control over the selection process, especially in intricate or irregular shapes. Additionally, the Magic Wand tool selects areas based on similar colors, facilitating quick selections of contiguous regions with similar tones.
Masking:
Procreate’s masking features, including Layer Masks and Alpha Lock, allow artists to refine selections and control transparency with precision. Layer Masks enable selective hiding or revealing of parts of a layer, facilitating non-destructive editing and precise adjustments. Alpha Lock preserves the transparency of selected areas within a layer, enabling artists to paint or edit only within those areas while maintaining the rest of the layer’s transparency.
Adjustment Layers:
Procreate’s Adjustment Layers, such as Hue, Saturation, and Brightness adjustments, provide additional control over the appearance of artwork. Artists can use these adjustment layers to fine-tune colors, tones, and overall visual aesthetics, enhancing the quality of background removal and ensuring a cohesive composition.
Step-by-Step Instructions:
- Start by importing your artwork into Procreate and creating a new layer for background removal.
- Use the Quick Selection, Freehand Selection, or Magic Wand tools to make selections around the subject to be isolated from the background.
- Refine selections using masking techniques such as Layer Masks and Alpha Lock to achieve seamless transitions and clean edges.
- Experiment with Adjustment Layers to fine-tune colors and tones, ensuring a cohesive and professional-looking result.
By utilizing these tools and techniques in Procreate, artists can effectively remove backgrounds from their digital artwork with precision and ease, enhancing the overall quality and visual impact of their compositions.
Tips for Better Background Removal
Achieving flawless background removal in Procreate requires not only mastering the tools and techniques but also implementing practical tips and tricks to enhance your workflow. In this section, we will share valuable insights and strategies for achieving better results, discuss common challenges, and provide examples or case studies to illustrate key points.
Refine Your Selections:
-
- Take your time when making selections around the subject to ensure accuracy.
- Zoom in and use precise strokes to capture intricate details and edges.
- Experiment with different selection tools and adjust their settings for optimal results.
Use Multiple Selections:
-
- For complex subjects with varying textures and colors, consider making multiple selections to refine your mask gradually.
- Break down the background removal process into smaller sections, focusing on one area at a time for better control.
Feather and Refine Edges:
-
- After making selections, utilize the feathering option to soften edges and create a seamless transition between the subject and the background.
- Use the refine edge tool to further refine edges and remove any remaining artifacts or imperfections.
Pay Attention to Lighting and Shadows:
-
- Consider the lighting and shadows in your artwork when removing backgrounds.
- Adjust the brightness and contrast of the subject to match the new background for a cohesive look.
Common Challenges and Solutions:
Dealing with hair strands or intricate patterns poses a challenge in background removal. To overcome this, employ a combination of selection tools and manual painting to preserve details. For complex backgrounds, break them down into simpler elements for better control. Use masking techniques to selectively remove unwanted elements while retaining important details. Transparent objects like glass or water require experimentation with blending modes and opacity settings to achieve a natural look. These strategies address common challenges in background removal, ensuring precise and seamless results in digital artwork.
Advanced Techniques for Background Removal
In this section, we delve into advanced techniques and features in Procreate for handling complex backgrounds, empowering advanced users to attain professional-grade results. Procreate’s layering system facilitates the creation of multiple layers for distinct elements like the subject and background. Layer masks offer precise control over transparency and blending by selectively hiding or revealing parts of each layer.
Alpha Lock preserves transparency within a layer, enabling edits within specific areas while maintaining overall transparency. Clipping masks restrict a layer’s visibility to the shape of another layer below, enhancing blending and compositing control.
Experiment with advanced selection techniques such as the Magnetic Selection tool, which aids in precise selections by snapping to subject edges. Combine selection tools with manual refining for intricate selections, particularly for complex shapes.
Explore Procreate’s blend modes and opacity settings to seamlessly blend subjects into new backgrounds. Utilize gradient maps and color adjustments for cohesive blending of subject tones with new backgrounds. Mastering these advanced techniques equips users to confidently tackle complex backgrounds and achieve professional-quality results in digital artwork. Subsequent sections will offer further tutorials and demonstrations to enhance background removal skills and digital artistry prowess.
Optimizing Workflow in Procreate
Efficiency is key when it comes to background removal in Procreate. In this section, we will discuss strategies for streamlining the process, share time-saving tips and shortcuts, and highlight the importance of practice and experimentation to optimize your workflow.
Organize Your Layers:

- Start by organizing your layers before beginning the background removal process. This ensures a clear and structured workflow, making it easier to manage and edit your artwork.
- Group related layers together and label them accordingly to stay organized and maintain clarity throughout the editing process.
Utilize Selection Shortcuts:
- Familiarize yourself with Procreate’s selection shortcuts to expedite the selection process. For example, double-tapping the Apple Pencil toggles between the current and previous tool, allowing for quick adjustments.
- Experiment with gesture controls to quickly access commonly used tools and functions, such as pinch gestures to zoom in and out or swipe gestures to undo and redo actions.
Customize Your Workspace:
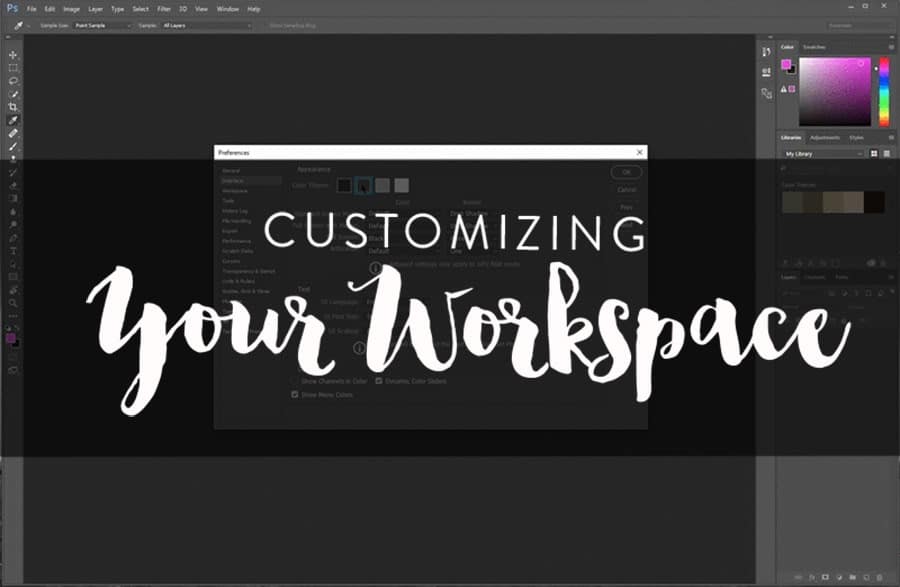
- Customize Procreate’s interface to suit your workflow preferences and optimize efficiency. Arrange your favorite tools and brushes in easily accessible locations for quick access during background removal.
- Utilize Procreate’s customizable QuickMenu feature to create shortcuts for frequently used tools and actions, further speeding up your workflow.
Use Quick Masks:
- Take advantage of Procreate’s Quick Mask feature to expedite the masking process. Simply hold down on the layer thumbnail to activate Quick Mask mode, allowing you to paint directly onto the mask with ease.
- Experiment with different brush sizes and opacities to quickly mask out areas of the background while preserving important details.
Practice and Experiment:
- Practice regularly to familiarize yourself with Procreate’s tools and features for background removal. The more you practice, the more efficient you’ll become at using the software to achieve desired results.
- Don’t be afraid to experiment with different techniques and approaches to background removal. Each artwork presents unique challenges, and experimenting with different methods will help you discover what works best for your specific needs.
Emphasizing these strategies for streamlining the background removal process, utilizing time-saving tips and shortcuts, and dedicating time to practice and experimentation will help you optimize your workflow in Procreate and achieve professional-grade results in your digital artwork. Remember, mastering background removal is a skill that improves with practice and patience, so don’t hesitate to dive in and explore the possibilities Procreate has to offer.
Case Studies and Examples
In this section, we explore real-life instances of background removal in Procreate, showcasing diverse scenarios and effective approaches. For portrait photography, a combination of selection tools and masking techniques ensures precise removal, especially around complex hair details. In landscape painting, the Magic Wand tool aids in initial selections, followed by manual refining to preserve textures. Product photography benefits from clean selections using the Quick Selection tool and seamless blending with layer masking. Illustrative artwork removal involves a mix of selection tools and layer adjustments for a cohesive composition. These case studies highlight the versatility of Procreate in tackling varied background removal challenges with precision and creativity.
Common Mistakes to Avoid
Beginners often encounter common pitfalls when remove background in Procreate. One common mistake is making inaccurate selections, resulting in jagged edges or incomplete removal. To avoid this, take time to make precise selections and utilize Procreate’s selection tools with care. Another mistake is overlooking fine details like hair strands or intricate patterns. To address this, employ masking techniques and layer adjustments to preserve details while removing the background. Additionally, beginners may struggle with harsh edges or artifacts left from background removal. To prevent this, use masking techniques to refine edges and experiment with blending modes for smoother transitions. By being mindful of these common mistakes and utilizing alternative approaches such as precise selection, masking, and blending techniques, beginners can achieve more professional-looking results in background removal with Procreate.
Conclusion
In conclusion, this blog post has explored various aspects of remove background in Procreate , covering tools, techniques, common mistakes, and advanced approaches. By emphasizing the importance of precise selection, masking, and blending techniques, readers can achieve professional-grade results in their digital artwork. We encourage readers to apply these techniques in their own projects and experiment with different approaches to refine their skills further. Your feedback and questions are valuable, so feel free to reach out with any inquiries or share your experiences with background removal in Procreate. Happy creating!
For more photography tips and tricks, visit PhotoSquare.